Bunny Bib Tutorial


Supplies Needed:
Piece of fabric 10" x 11.5"
Chenille backing fabric 11" x 12.5"
Batting 11" x 12.5"
Ribbon- two lengths at 12"
Embroidery needle & thread in pink and blue
Download Pattern http://www.transientart.com/images/printables/Bunny_Bib_Pattern.pdf

A long time ago I saw an image of a bunny bib floating around online and thought, "Cute!!!" But I had two little boys. ^_^; Years later, I wound up with the little girl I wanted and her first teeth are starting to come in. Meaning she's drooling a lot. I remembered that bunny bib and made my own pattern and tutorial to share with you guys.

#1: Print, trace, and cut out the template

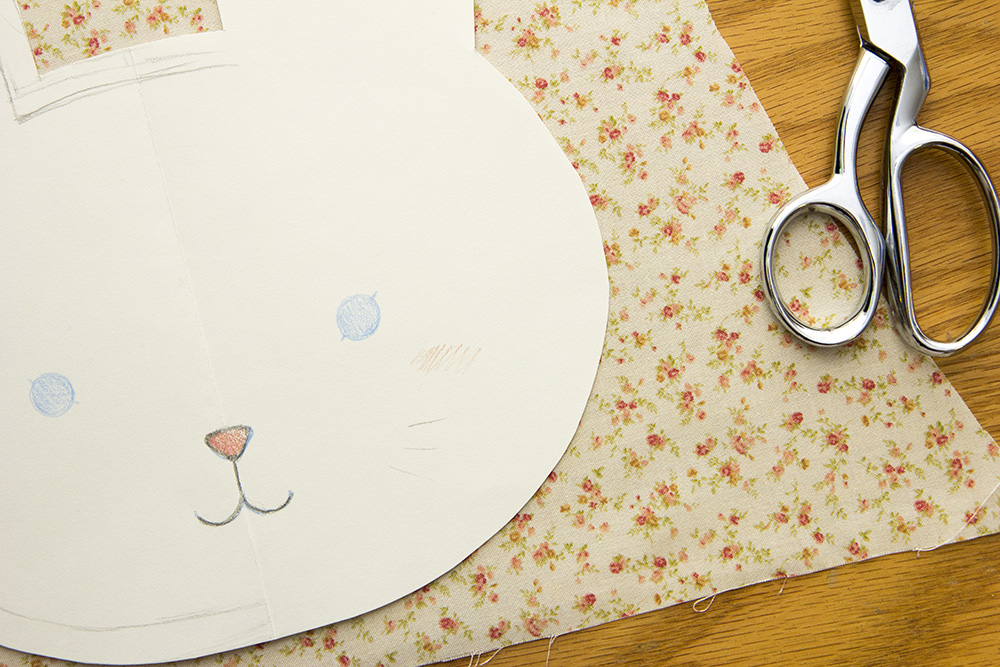
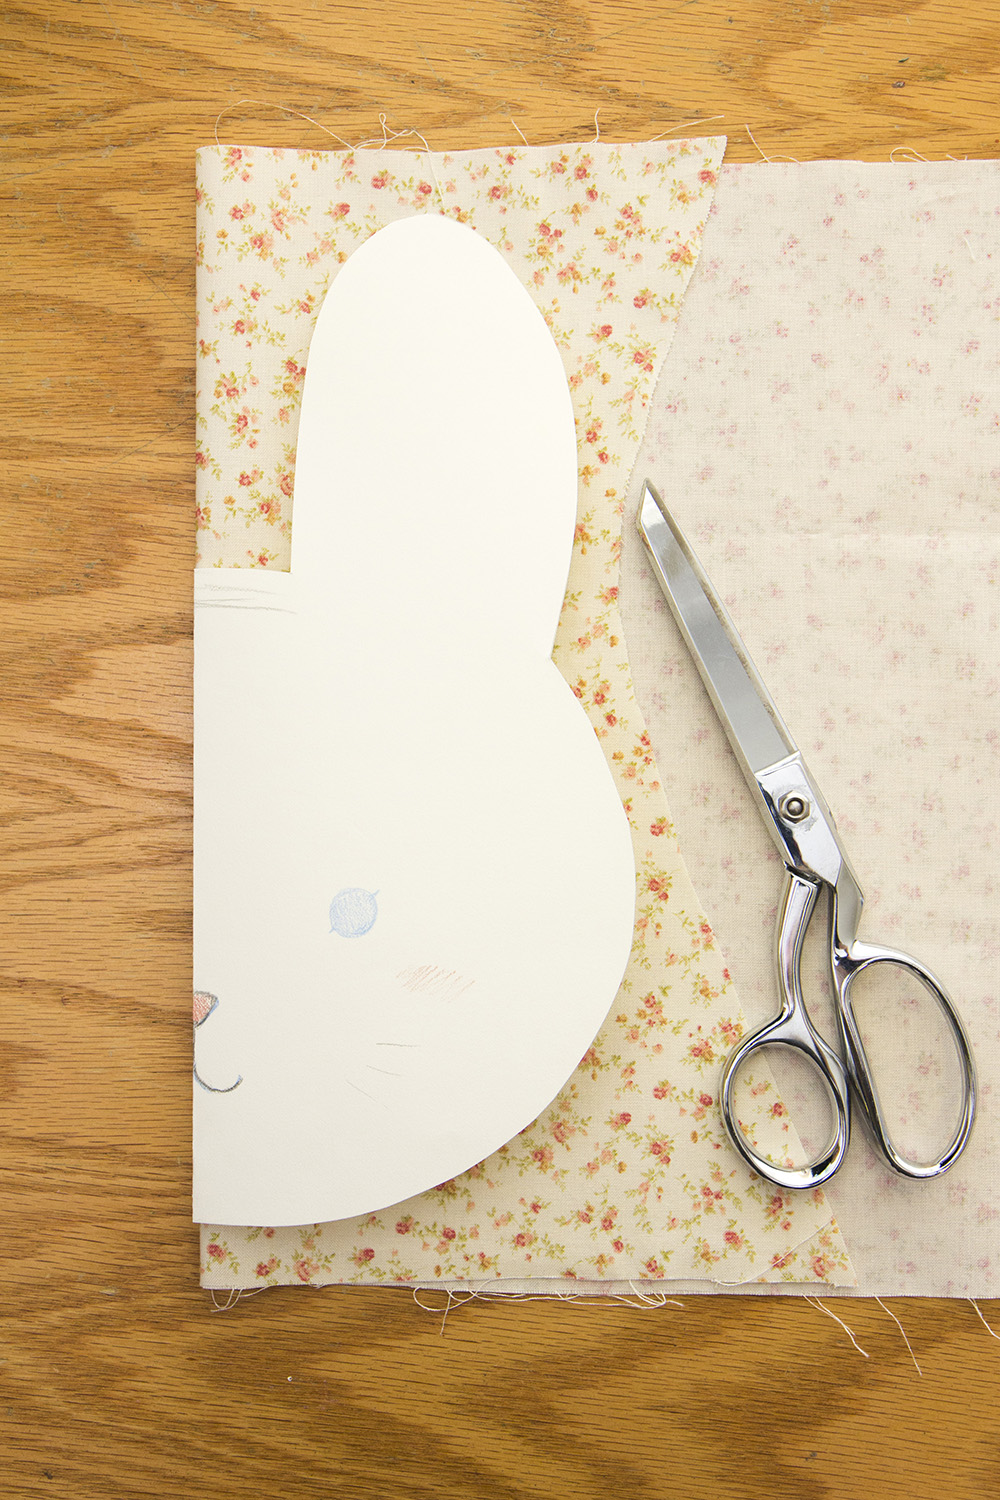

Fold the fabric in half along the grain line and line up the download pattern http://www.transientart.com/images/printables/Bunny_Bib_Pattern.pdf on the edge. Trace the outline onto the fabric and cut out the shape. You should end up with a full bunny bib silhouette when unfolded.
#2: Trace embroidery features on


If using a light colored 100% cotton fabric, the bunny's features should show through the fabric from the pattern print out. You can otherwise use a light-board or a very bright window and tape up the pattern to trace. I used a washable pencil by Clover here.
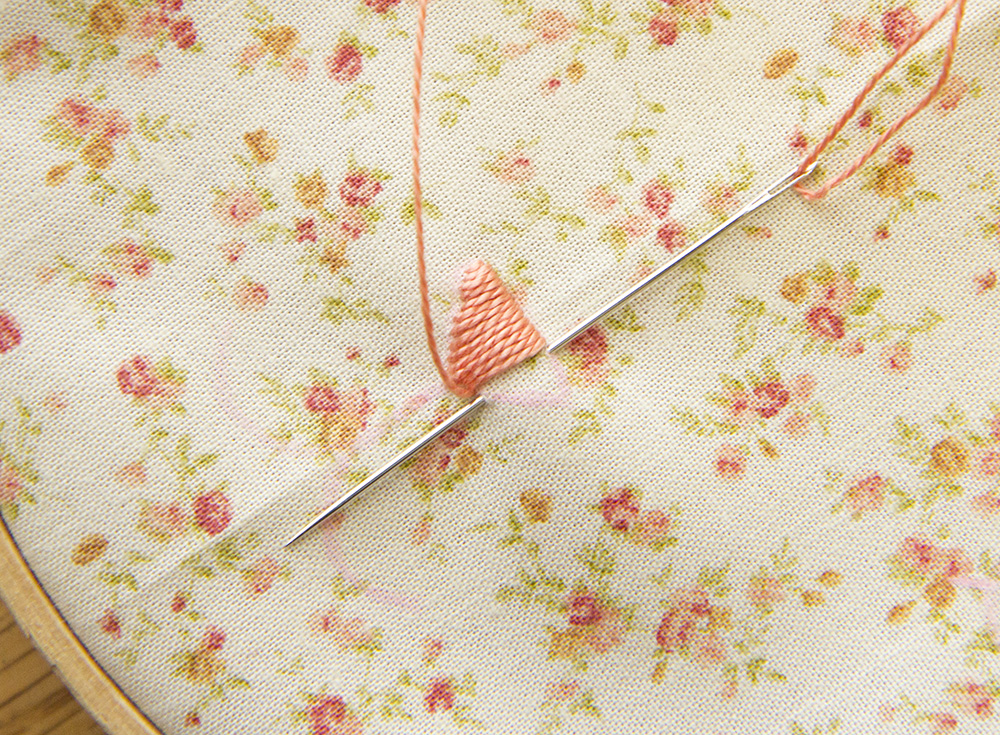
#3: Embroider the bunny's face
Use a satin stitch for the nose and eyes, running stitch for the ears, and chain stitch the mouth in. If you want, you can embroider with batting on the back (spray basting is great here), I usually do this when I'm using thicker or darker threads and don't want it showing through on the front and also for a stronger stitch; the batting giving it that extra strength. I used DMC's Coton Perlé 8, colors 340 & 352.
#4: Add the ribbon and sandwich the layers

Tie a knot on the end of each ribbon piece trimming so they're the same length at 12". :ribbon: Pin the ribbon down so it it safely goes down the ears and onto the face, that way it's not accidentally sewn over where we don't want it. You can also use fabric binding instead of ribbon.

Pin the right sides together. I cut my batting to shape to use while embroidering. If you decided not to do this then simply layer it batting, backing fabric, then the top fabric. It's not like I've ever made the mistake of messing up the layers and ended up with the batting on the outside when I flipped it inside out, I swear. :whistle: I've also found that chenille likes to shift around a bit and thus don't worry about cutting it to shape when sewing it together with a different fabric like quilting cotton. We will be trimming it in the next step.
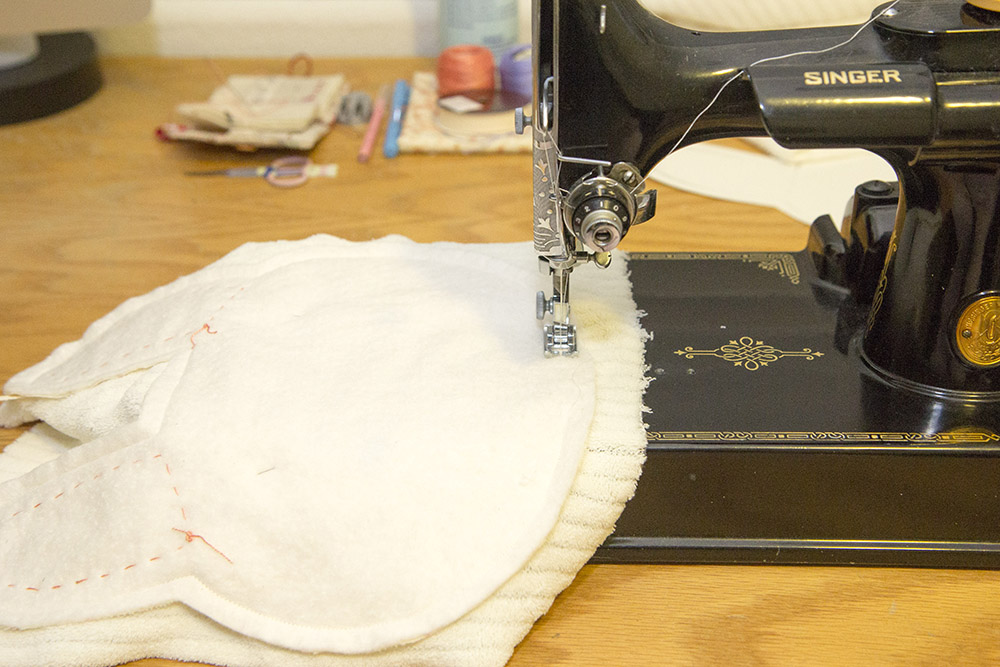
#5: Sew together
Sew together using a 3/8" (1 cm) seam allowance starting at the points marked on the bottom, ending at the other point to leave about a 2" opening at the bottom for flipping inside out. Be careful of the pins used to hold the ribbon in place. There's a little give if you wish to use a 1/2" seam allowance too.

Cut out notches along the curves and clip the corners close to the seam. Pinking shears make this job much faster, not forgetting to snip the corners so that the bib will lay flat and not pucker at the bottoms of the ears.
#6: Turn & Top stitch

Flip inside out and press. Top stitch 1/8" away from the edge, also sewing the opening shut, and you're done!
#7: Put it on a baby


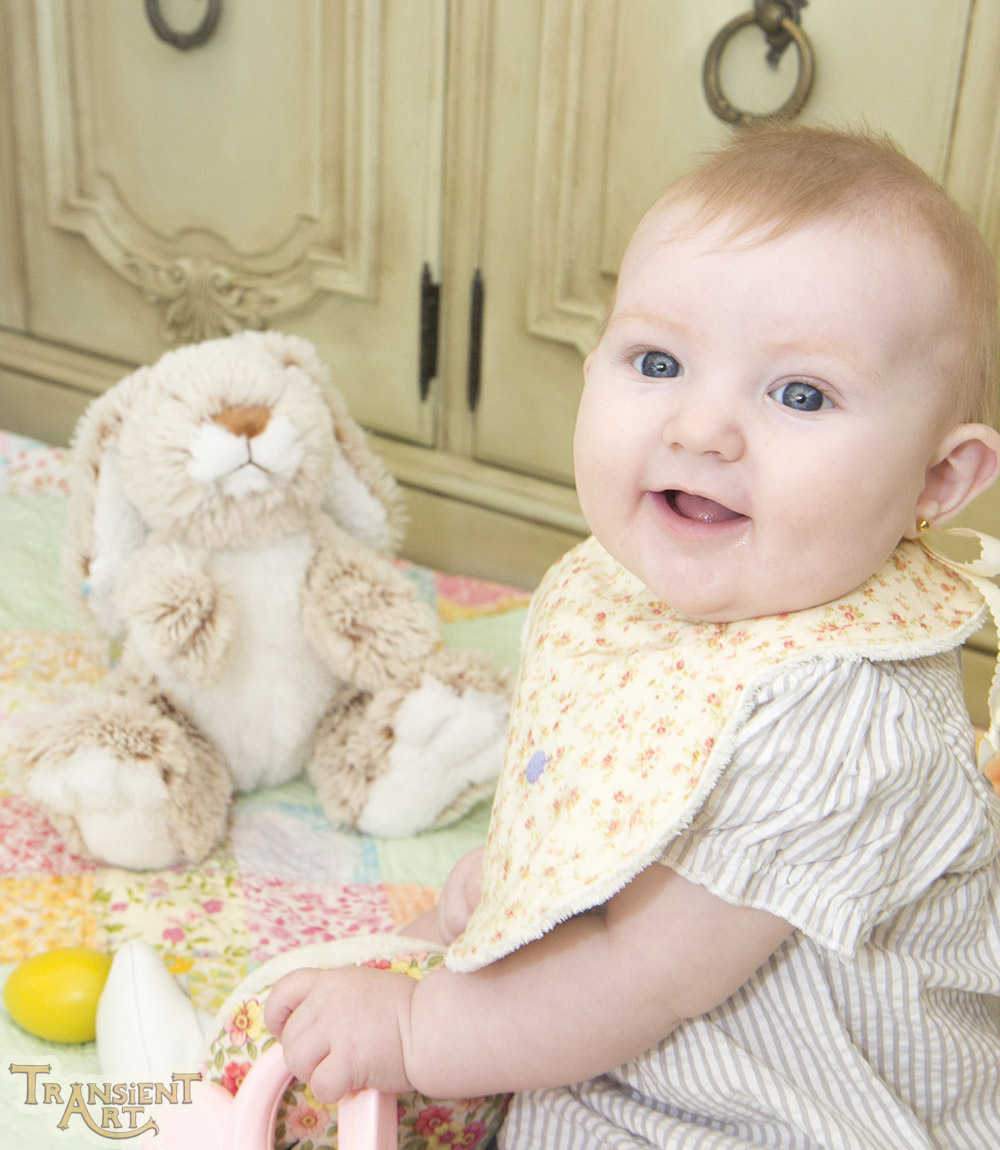


Always,

Lauren
